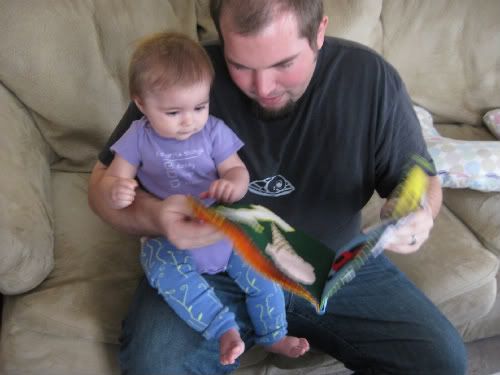
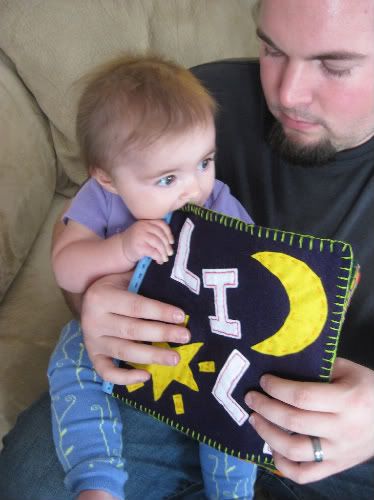
These are really simple patterns that I just made up as I went along. Anyone could likely just look at these and make them without even reading further :)
Cabled Bib (knit)
Size 9 needles
Worsted weight cotton yarn
Tapestry needle
Cast on 30
P1, K4, P1 - K2, P2 across - P1, K4, P1 (front)
K1, P4, K1 - P2, K2 across - K1, P4, K1 (back)
Continue with the P1, K4 cable, P1 on either side of the K2, P2 ribbing for 5 rows (ending with a back side row)
Cross the 2 by 2 cable every other knit row, stockinette after 5 rows of ribbing
Continue until bib is square, end with K2, P2 ribbing for 5 rows
Cast off 24 stitches, continue right side cable - P1, K4, P1
Continue until neck strap is 1" less than desired length, knit button hole (2 stitches)
Finish two more rows, cast off, weave in ends
To make button: http://www.ehow.com/how_4862520_make-yarn-buttons.html
I used plastic from some packaging and cut it to my desired diameter instead of buying rings. Stitch it on, and voila!
Ring Toy (crochet)
Size F hook
Worsted weight cotton yarn
Tapestry needle
Ch 6
Join together to form circle
Sc in front loops only until piece is approximately 6" long (or until yarn pattern repeats evenly)
Fasten off, stitch together to form circle with tapestry needle, weave in ends
Tuesday, December 22, 2009
Saturday, December 19, 2009
Babies Don't Keep
Mother, oh Mother, come shake out your cloth
Empty the dustpan, poison the moth,
Hang out the washing and butter the bread,
Sew on a button and make up a bed.
Where is the mother whose house is so shocking?
She's up in the nursery, blissfully rocking.
Oh, I've grown shiftless as Little Boy Blue
(lullaby, rockaby, lullaby loo).
Dishes are waiting and bills are past due
(pat-a-cake, darling, and peek, peekaboo).
The shopping's not done and there's nothing for stew
And out in the yard there's a hullabaloo,
but I'm playing Kanga and this is my Roo.
Look! Aren't her eyes the most wonderful hue?
(lullaby, rockaby, lullaby loo).
The cleaning and scrubbing will wait till tomorrow,
For children grow up, as I've learned to my sorrow.
So quiet down, cobwebs. Dust go to sleep.
I'm rocking my baby and babies don't keep.
Thursday, December 17, 2009
Cable Without Cable Needles Face Cloth
I wanted to learn to knit cables. I do not own cable needles. No worries, I didn't need them! I also like quick little projects while I learn so that gratification comes quick.
Cotton yarn, worsted weight
Size 9-ish knitting needles
Tapestry needle to weave in ends
Cast on 24
Rows 1 - 4: K1, P1 across, repeat (4 rows total).
Row 5: K1, P1, K1, P1 (border). P4, K2, P4, K2, P4 (middle). K1, P1, K1, P1 (border).
Row 6: Border, K4, P2, K4, P2, K4, border.
Rows 7 & 8: Repeat rows 5 & 6.
Row 9: Border, P4. Slip 2 stitches off left needle (keep them in front of your work), purl next stitch on left needle, put slipped stitches back on left needle, knit those 2 stitches (first left cable movement!). P2. Slip 1 stitch off left needle (keep it behind your work), knit the next 2 stitches, put the slipped stitch back on the left needle and purl it (first right cable movement!). P4, border.
Row 10: Border, K5, P2, K2, P2, K5, border.
Row 11: Border, P5, left cable (slip 2 off needle, P1, knit 2 slipped stitches), right cable (slip 1 off needle, K2, purl slipped stitch), P5, border.
Row 12: Border, K6, P4, K6, border.
Row 13: Border, P6. Slip 4 stitches off of left needle (number 1, 2, 3, 4 from left to right), keep 1 and 2 in front of your work, put 3 and 4 back on left needle, then put 1 and 2 onto left needle too (new order: 3, 4, 1, 2), knit all 4 stitches (first left-over cable!). P6, border.
Row 14: Border, K6, P4, K6, border.
Row 15: Border, P6, K4, P6, border.
Row 16: Repeat row 13.
Row 17: Border, K6, P4, K6, border.
Row 18: Border, P5, right cable (slip 1 off needle, K2, purl slipped stitch), left cable (slip 2 off needle, P1, knit 2 slipped stitches), P5, border.
Row 19: Border, K5, P2, K2, P2, K5, border.
Row 20: Border, P5, right cable (slip 1 off needle, K2, purl slipped stitch), left cable (slip 2 off needle, P1, knit 2 slipped stitches), P5, border.
Row 21: Border, K4, P2, K4, P2, K4, border.
Row 22: Border, P4, K2, P4, K2, P4, border.
Rows 23 & 24: Repeat rows 21 & 22.
Rows 25 - 29: K1, P1 across, repeat (4 rows total). Cast off, weave in ends.
Saturday, October 10, 2009
Felt name book
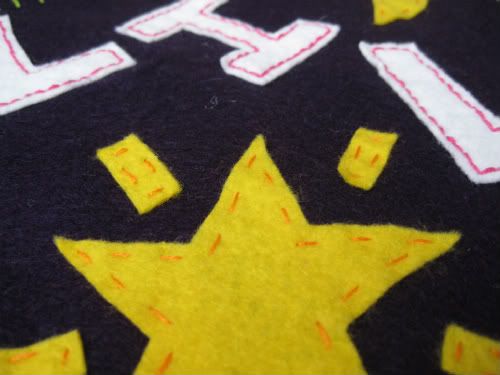
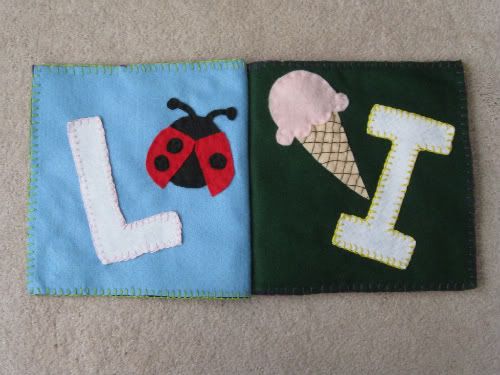
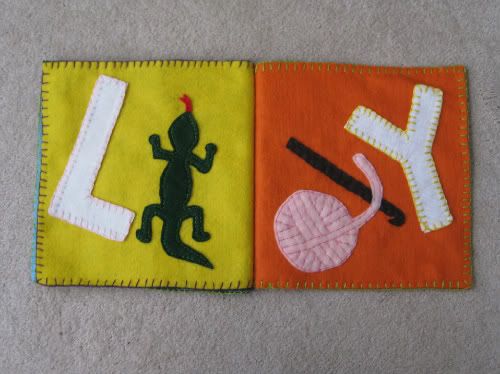
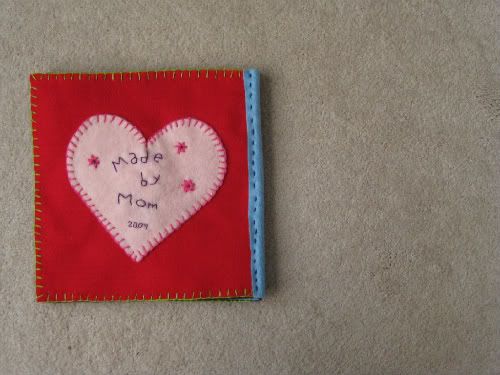
I had this craft idea stuck in my head like a cheesy 90s pop song. I couldn't NOT do it, and it was burning to just get done quickly. So I started it last night and finished just now. I'm pretty pleased considering how much hand stitching was involved!
The cover is actually deep purple, despite looking black here
Close ups...
In action...
More fun to eat for now
The cover is actually deep purple, despite looking black here
Close ups...
In action...
More fun to eat for now
Friday, October 9, 2009
Cascade of Interventions
Friday, September 25, 2009
Readers!
Oh wow, I just realized there were comments on this blog. People are reading! I don't have much to say at this very second, but I wanted to get it out there that I will be making a conscious effort to update here now!
Saturday, July 4, 2009
How to fold a prefold cloth diaper - "Jelly roll"
This is my favorite way to fold and fasten a prefold diaper. Blow-outs are rare, and combined with a good cover, clothes are pretty much always spared the mess.
First, start with naked baby in need of a diaper.
I like to fold the back part under and lay her on top. That "lip" of diaper keeps the poo-splosions from going up the back.
The I roll each side in like so...
And so
Take the rolled parts up between the legs
And then fan them out to each side
Grab the corners of diaper from behind
And fasten!
Cover, and you're done!
Monday, June 15, 2009
Crochet soaker pattern
This pattern is very flexible, but here are some guidelines for sizes to work with.
Newborn: waist - 13", leg - 6", rise - 14" (<11 lbs)
Small: waist - 15", leg - 8", rise - 16" (9-15 lbs)
Medium: waist - 18", leg - 9", rise - 18" (14-21 lbs)
Large: waist - 20", leg - 11", rise - 20" (20-27 lbs)
Starting with waistband: ch 9.
Row 1: Sc in 2nd ch from hook and sc in each ch across (8 sc), ch 1, turn.
Row 2+: Working in back loops only, sc in each sc across, ch 1, turn. Repeat until waistband measures desired length.
Row 1: Sc along length of waistband, ch 1, turn.
Row 2+: Sc in each sc across, ch 1, turn. Repeat until sc section measures desired height (approximately: newborn - 2", small - 2.5", medium - 3", large - 4"). This number of rows can be adjusted for a longer or shorter rise, if needed.
Next rows: Ch 1, *skip first sc and sc in each sc across, leaving 1 sc at end, total decreased st per row is 2. Ch 1 and repeat from * until piece ends in a triangle point.
Fold in left, right, and bottom to the front of the diaper and whip stitch or sc down middle and each side, leaving appropriate sized openings for legs.
Photo coming soon!
Saturday, June 13, 2009
My DIY Screen Printing Tutorial
It circulated the internet like wildfire in its day. Well, maybe not like wildfire--perhaps more of a briefly burning match flame. But still, it was seemingly everywhere and still tops Google searches for the topic. This method is by no means meant to replace actual silk screening, but for those of us that don't want to tackle acquiring all the goods along with photo emulsion, this is a good enough substitute for personal use! So, here it is, in all its glory...
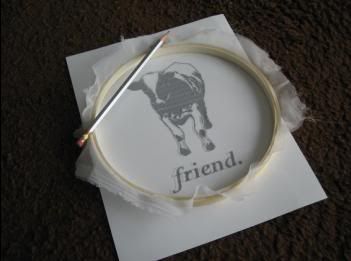
Materials needed: a t-shirt, yucky/cheap paint brushes, an embroidery hoop, screen printing ink (I use Speedball brand), a glue that isn't water-soluble (I use Mod Podge), curtain sheer material/tulle/old nylons, and a computer with a printer (or a good hand for drawing things).
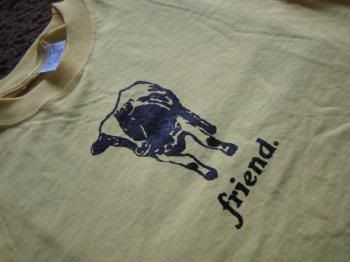
Find an image you like and that has good contrast. My cow needed to be "cut out," and I've only got Microsoft Paint on this computer and it worked fine.
Save the image as a Monochrome Bitmap file and it will turn it black and white. If this loses all the detail, fudge around on Paint or try a different picture, haha.
Print it out so the image is the size you want it on the t-shirt (and also so it's not bigger than the embroidery hoop you spent ¢67 on).
After pulling the sheer curtain material/tulle/old nylons tight across the embroidery hoop (and screwing it shut real good), trace the image onto the material with a pencil with the material close to the paper, not upside down so it's far away.
You should be able to see the pencil outline easily without squinting too hard. If it's too detailed, fudge some more.
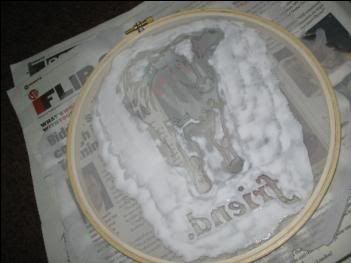
Turn the thing over and with the glue, paint all the "negative space," (all the places you don't want ink to go, the white space). Make sure the material isn't touching whatever surface you're working on otherwise you'll end up gluing the whole thing down, obviously.
Some people say you can use tape to fill in the bigger area, but I think that painting the glue on all over the larger spaces is the best part, but do what you will.
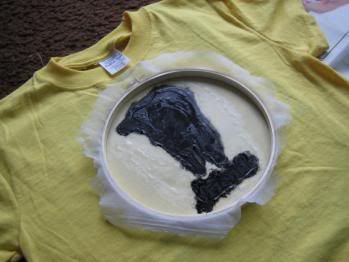
After the glue dries, center the image on the shirt face down, and I sort of stipple the ink through the material making sure it's fully saturated, but also making sure not to glob it all over the place.
Carefully peel it back, wait for it to dry, and follow the "setting" directions on the ink (mine is to iron it on medium 3 - 5 minutes each side with a piece of cloth/paper between the iron and the ink).
(Originally posted here: http://community.livejournal.com/craftgrrl/3674467.html)
The beginning
I hope that this blog can become a fun and up to date resource and log for all of my interests. I'm sure it will house things from crafts to parenting to cooking, so my stand-by "Strings to Things" seems to fit. Stay tuned for what will come!
Subscribe to:
Posts (Atom)